I held a Secret Garden book club last week. Check out this artist print in my Etsy shop.
Showing posts with label decoration. Show all posts
Monday, March 30, 2015
Tuesday, January 21, 2014
DIY pom-pom heart Banner
They come in a set of 10, but I only used 5.
1) Using an acrylic paint (I used DecoArt), paint a base color.
2) Use a glue gun to adhere pink, red, and white pom-poms until each heart is covered.
3) Use a twine to string the hearts on, hang, & enjoy!
Super easy to make!
Thursday, January 9, 2014
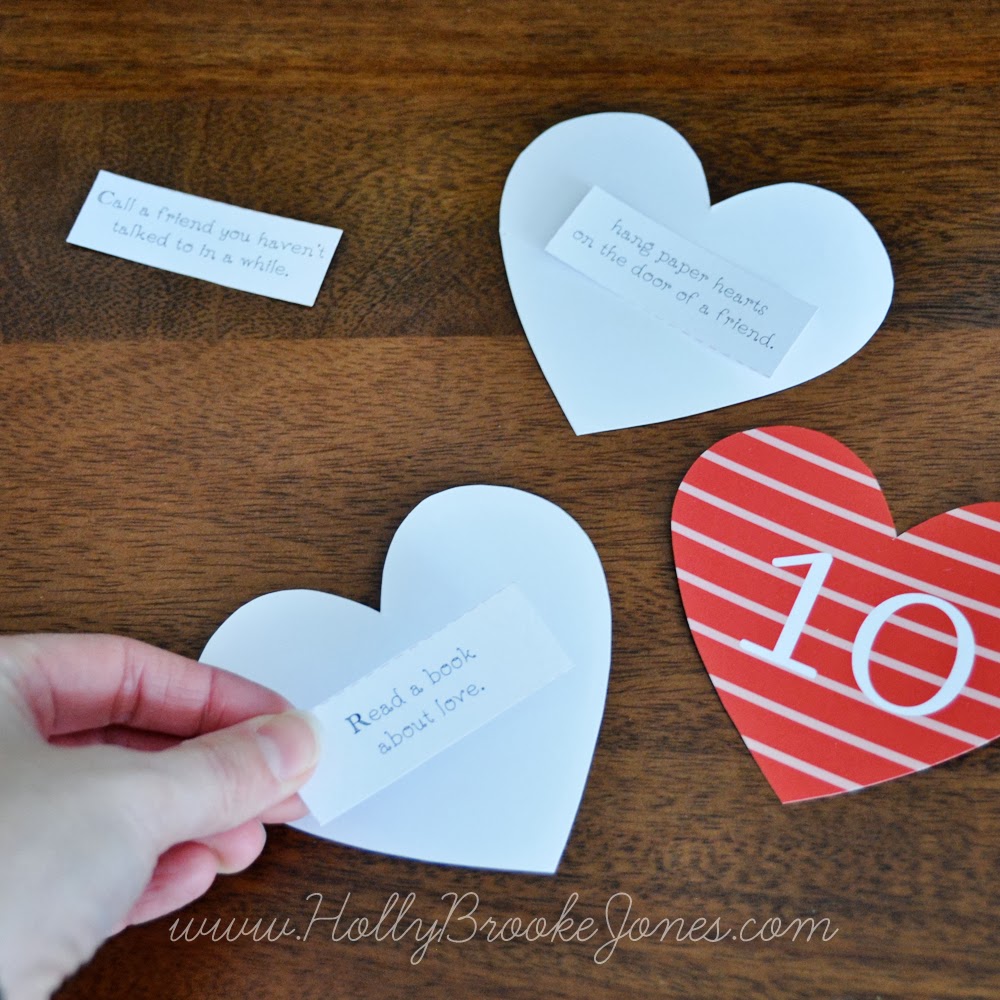
Valentine Countdown - Free printable
I know it's a little early for Valentine's Day, but It's not too early to start preparing. I don't have a lot of Valentine's Decorations, so I thought I'd make this little countdown advent calendar.
1: CLICK HERE to download the 3 page PDF file to your computer.
2: Using your home computer, print the file onto Card stock. Or if you don't have a nice colored printer, you can upload your files to your local print shop. I uploaded the files to Office Max. I had them printed onto an 80lb Matte Cover card stock.
3: Carefully cut out the heart shapes.
4: Use some glitter paper or ribbon to cover some wooden clothes pins. I bought my clothes pins at the dollar store. My glitter paper is from Hobby Lobby. After cutting your paper or ribbon down to the size of your clothes pin, you can use a wood glue to adhere the ribbon. I used a glue gun, because I'm too impatient to wait for glue to dry.
5: Cut out all the Advent activities (or make up your own.) I provided more than 14 to choose from. Adhere each activity to the back of a heart. I used tape, so that I can mix up the activities in years to follow.
5. Use the clothe pins to hang the hearts on some string, ribbon, or a strand of twine. Enjoy a Valentine's season filled with Love!
Feel free to share this project with your friends and family on your blog or through social media. Please link to my blog for the tutorial and download.
For personal use only. Thanks!
Labels:
activities,
advent,
calendar,
countdown,
day,
decoration,
download,
free,
hearts,
printable,
valentines
Tuesday, December 31, 2013
Happy 2014
Labels:
banner,
craft,
decoration,
diy,
fireplace,
glitter,
gold,
mantel,
new year,
new years eve,
silver,
stars
Friday, December 20, 2013
DIY Wooden New Years Eve Banner Tutorial
Christmas is less than one week away. Which means New Years is less than 2 weeks away. I don't have very many New Years Eve decorations, so I decided to add this Sparkly Happy New Year Banner to my small collection.
Other supplies you'll need include:
Paint, Glitter, Modge Podge, hairspray, a foam paint brush, and a string to hang the banner from.
For my paint, I used The Champagne Gold color from DecoArt®. It's my favorite paint color ever, and I think it makes a great base color for this project. Of course you can always choose another color. Black, Silver, or Mulit-Colors would look great for this New Years banner.
I painted one thin coat of paint on each letter. It looked nice. You could leave the glitter out if you like a smooth finish, but I wanted to add glitter to my banner.
Next I added a thick layer of Modge Podge to each letter. Then I dumped a generous amount of glitter on top of the still well modge podge. I did one letter at a time, so that the modge podge would stay nice and wet. After dumping the excess glitter back into my glitter stash, I used some
hairspray to spray each letter to keep the glitter in place.
Next, I put some modge podge into a separate bowl. Using my sponge brush I dapped a generous amount of modge pode to each letter. Do not rub, just dab. Don't worry about your letters turning white, it will dry clear in about an hour. This step prevents the glitter from falling off and making a mess. While you wait for the Modge Podge to dry, use a toothpick or tip of a safety pin to poke through each hole and clear out the gunk. This will make threading your twine through each letter easier.
Lastly, I measured my area where I wanted to hang my banner and cut some bakers twine to fit the measurements. The letters were easy to slide onto the twine. I used some clear 3m hooks that I found at Target to hang my banner to my fireplace mantel.
Step back and enjoy your banner! Happy New Year!
Tuesday, October 15, 2013
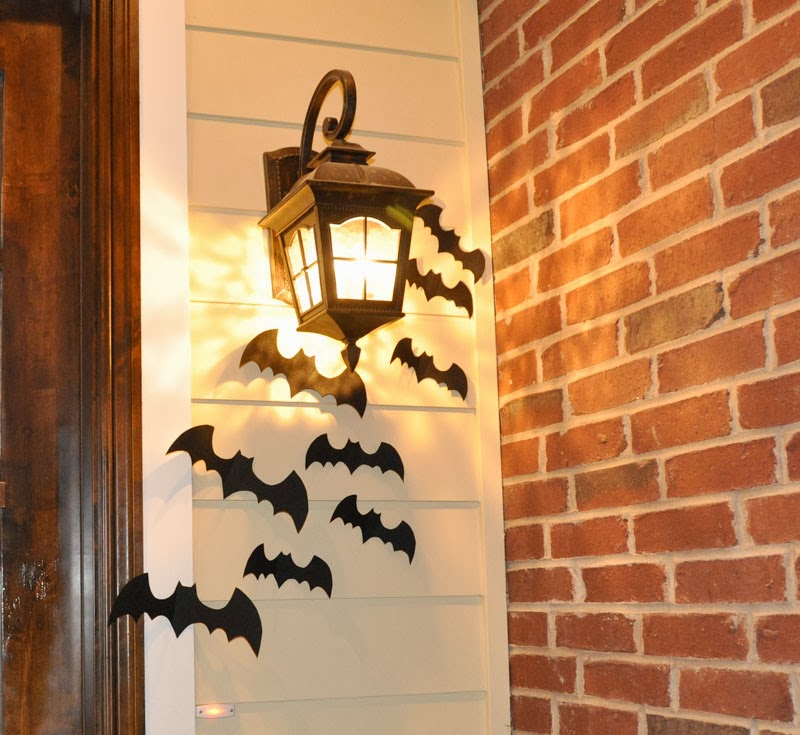
Halloween Bat Tutorial & Pattern
I made these bats a few years ago on my old blog. They were pretty popular, so I thought I'd add them on this blog too. These are super easy and inexpensive to make.
1) Click HERE to download my PDF bat pattern.
2) Print Pattern.
3) Cut out pattern and trace bats onto black stiff felt, or black card-stock.4) Cut bats from felt or card-stock.
5) Glue a square piece of paper or card-stock to the back of the bat. This will make hanging the bats using masking tape easier.
6) hang from mantel, ceiling, stair railings, & etc. (I used masking tape to adhere the bats to my wall and fireplace mantel.
7) Optional: I folded each side of the bat to the center to make them look like they are flying.
Subscribe to:
Posts (Atom)